Collection: Studio Hair® — Complete How to Care for Your Prosthetic Wigs & Hair Systems


Studio Hair® — One‑Page Care Guide
Human Hair & Synthetic Hair Prosthetic Wigs
Maintain longevity, softness, and natural movement with Studio Hair® Keratin Glow™ products. All formulas are 100% sulfate‑free and free of heavy oils, waxes, silicone, and parabens to protect both human hair and synthetic fibers.
INITIAL SETUP
-
Styling Human hair prosthetics should be cut and styled while positioned on your head. Synthetic wigs require minimal trimming and low‑heat shaping only.
-
Fit Adjust nape straps for a secure, comfortable fit. Align with your natural hairline.
-
Positioning Roll inward the two points on either side for perfect symmetry.
-
Brush with a Professional Cushioned Paddle Brush (ball‑tipped nylon pins only).
-
Wet with cool to tepid water, holding from the top inside front.
-
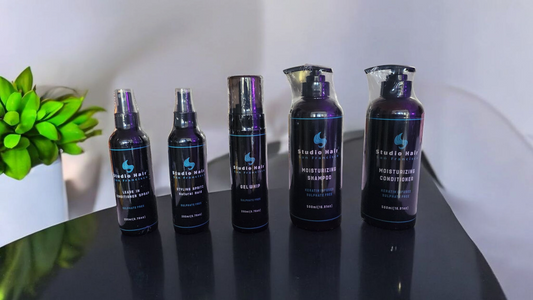
Shampoo using Keratin Glow™ Moisturizing Shampoo from roots to ends; rinse with cool water.
-
Condition mid‑length to ends with Keratin Glow™ Moisturizing Conditioner; avoid roots. Deep condition monthly with Keratin Glow™ Deep Conditioner.
DRYING & STYLING
-
Dry by gently pressing with a clean towel.
-
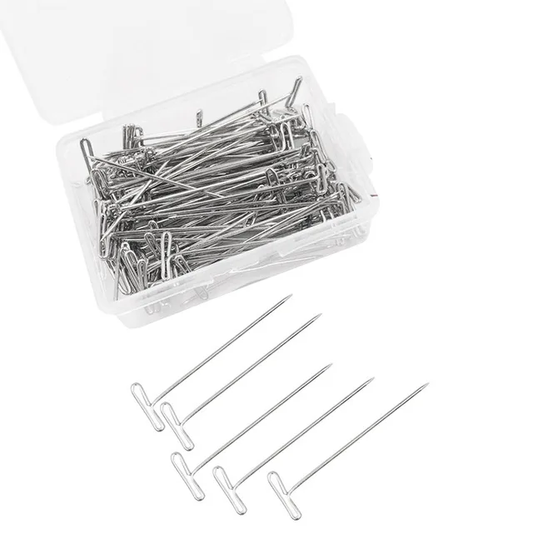
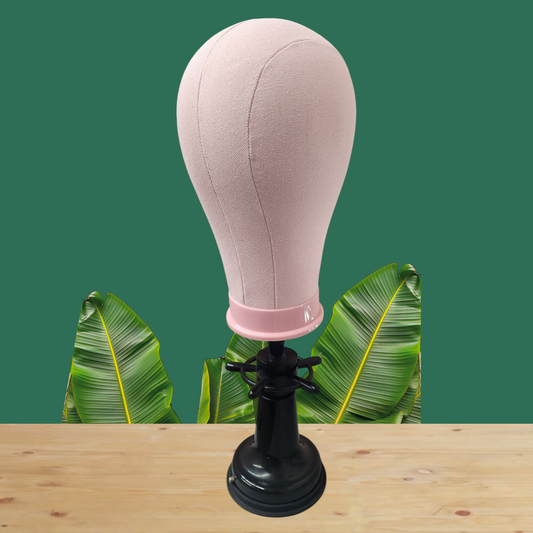
Secure on a canvas block head with T‑Pins (avoid lace/skin areas).
-
Style with Keratin Glow™ Gel Whip or mousse; air‑dry fully. Finish with Keratin Glow™ Natural Hold Hairspray.
SYNTHETIC HAIR CARE CLEANSING
-
Preparation Fill a basin with lukewarm water. Add two pumps of Keratin Glow™ Shampoo and gently agitate.
-
Shampoo Cleanse Immerse the wig and agitate for one minute. Rinse repeatedly with cool water until water runs clear.
-
Conditioner Rinse Repeat the process using Keratin Glow™ Conditioner. Pat dry on a towel—do not rub or wring.
DRYING & FORMING
-
Place the wig on a wig form.
-
Apply a small amount of Keratin Glow™ Gel Whip with fingertips.
-
Shape with a cushioned paddle brush.
-
Cover with a hair net and air‑dry only. Never use heat on synthetic hair.
FINAL STYLING
-
Shake lightly once dry.
-
Style with fingers or a brush.
-
Finish with Keratin Glow™ Styling Spritz for a polished look.
SUN PROTECTION
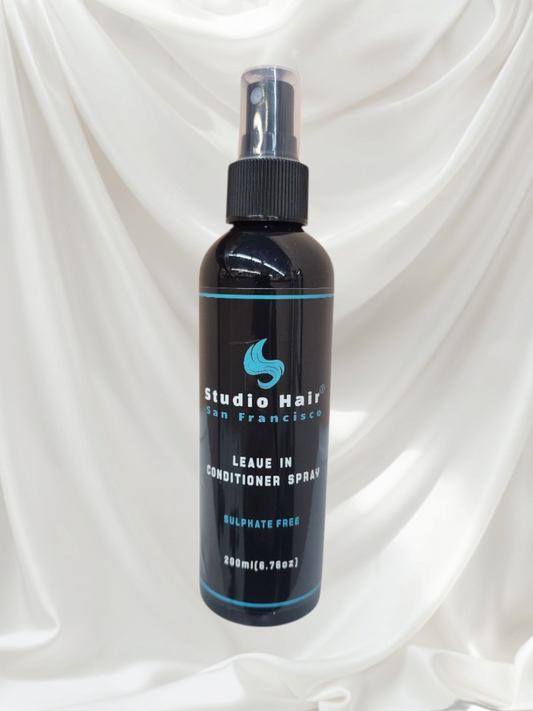
Mist with Keratin Glow™ Leave‑In Conditioner before extended sun exposure to maintain softness and prevent dryness. Style with Styling Spritz or Hair 2 Stay™ for brushable hold and lasting protection—ideal on wet or dry hair.
GENERAL CARE FOR BOTH
-
Use Keratin Glow™ Leave‑In Conditioner, Styling Spritz, and a Professional Cushioned Paddle Brush daily.
-
Human hair: Avoid excessive heat.
-
Synthetic hair: Avoid heat entirely unless fiber‑safe.
-
Store on a wig stand or block head to preserve shape and prevent tangling.

Studio Hair® — Professional Care for Lasting Beauty & Fiber Integrity
Shop Our Exclusive Range Today
HEAT & COLOR GUIDELINES (Human Hair Prosthetics)
-
When using heat on white, platinum, or very light hair, choose steam appliances, hot rollers, or salon hood dryers to avoid discoloration or scorching.
-
After styling, finish with a light hold finishing spray or firm hold finishing spray for polished, touchable control.
-
As hair naturally fades or lightens from wear, your stylist may refresh tone using a non‑peroxide color, such as Goldwell Colorance, for 5–10 minutes only.
-
Never attempt to lighten or perm a wig.
-
Never use oil‑based, silicone‑based, or wax‑based products on any prosthetic hair.
-
Lock your wig or hair system down using comb locks.
 1 1/4"
Perfect for those with hair and works great on thinning or fine hair!
How to Sew Comb Locks Video
Four Things You'll Need. It’s just like sewing on a button.
Thread, Needle, Wig clips, Wig
1
Thread your needle with approximately one foot of nylon thread and tie a knot in the end of the thread.2
Arrange the wig clips on the inside of the wig close to the edge. The side of the clip that the teeth are on needs to be facing away from the wig and the teeth should point back away from the edge of the wig. This will allow the clips to catch your hair and hold the wig securely onto your head.3
Place the first clip on the wig where it will rest near one of your temples. You will need to use about five to six wig clips, one at each temple and the rest placed a few inches apart evenly around the perimeter of the wig.4
Sew the wig clip onto the wig through the small holes located on the wig clip. Start underneath the wig and push the needle all the way through the hole in the wig clip and through the wig. Bring the needle back down through the wig and a different hole on the wig clip. Repeat this process until the clip is firmly secured to the wig and tie a knot in the thread before trimming the ends.👁 Thoughtful Adjustability at the Front Comb Locks
-
X-TRA CARE Photo Finishing Spray (3 Hold Settings)
Regular price $24.00 USDRegular priceUnit price per$32.00 USDSale price $24.00 USDSale -
Tape Lace Front
Regular price $5.00 USDRegular priceUnit price per -
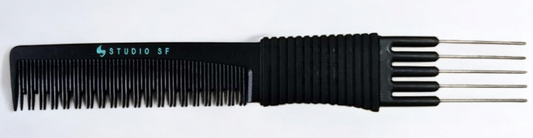
Professional lift comb
Regular price $5.00 USDRegular priceUnit price per$8.50 USDSale price $5.00 USDSale -
Keratin Glow Moisturizing Conditioner By Studio Hair®
Regular price $24.00 USDRegular priceUnit price per$32.00 USDSale price $24.00 USDSale -
 Sold out
Wig Revitalizing Conditioner 8.0floz
Regular price $10.00 USDRegular priceUnit price per$15.00 USDSale price $10.00 USDSold out -
Keratin Glow Moisturizing Shampoo By Studio Hair®
Regular price $24.00 USDRegular priceUnit price per$32.00 USDSale price $24.00 USDSale -
Wig Luster, Aerosol Spray, 10 Ounce
Regular price $10.00 USDRegular priceUnit price per$20.00 USDSale price $10.00 USDSale -
T-PinsT-Pins With Storage & Travel Case
Regular price $5.00 USDRegular priceUnit price per -
Keratin Glow Styling Spritz By Studio Hair®
Regular price $18.00 USDRegular priceUnit price per$24.00 USDSale price $18.00 USDSale -
Keratin Glow Leave In Conditioner By Studio Hair®
Regular price $18.00 USDRegular priceUnit price per$32.00 USDSale price $18.00 USDSale -
Keratin Glow Gel Whip By Studio Hair®
Regular price $18.00 USDRegular priceUnit price per$24.00 USDSale price $18.00 USDSale -
Wig Spray Non-Aerosol for Synthetic and Natural Hair Wigs (Copy)
Regular price $20.00 USDRegular priceUnit price per -
 Sale
SaleWig Detangler 8oz
Regular price $10.00 USDRegular priceUnit price per$20.00 USDSale price $10.00 USDSale -
Grip It™ by Studio Hair®
Regular price $12.00 USDRegular priceUnit price per -
 Sale
SaleExtenda Bond Tapes
Regular price $1.00 USDRegular priceUnit price per$15.00 USDSale price $1.00 USDSale -
THE I'VE GOT THIS PART PROSTHETIC HAIR KIT
Regular price $318.00 USDRegular priceUnit price per$358.00 USDSale price $318.00 USDSale -
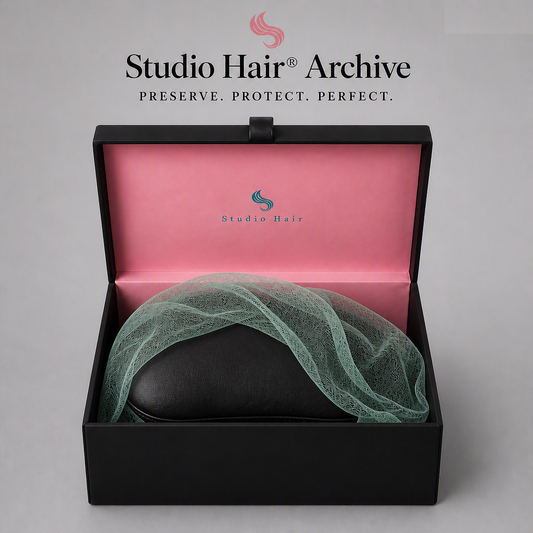
Studio Hair® Complete Archive Prostheses Kit Case
Regular price From $14.00 USDRegular priceUnit price per$24.00 USDSale price From $14.00 USDSale -
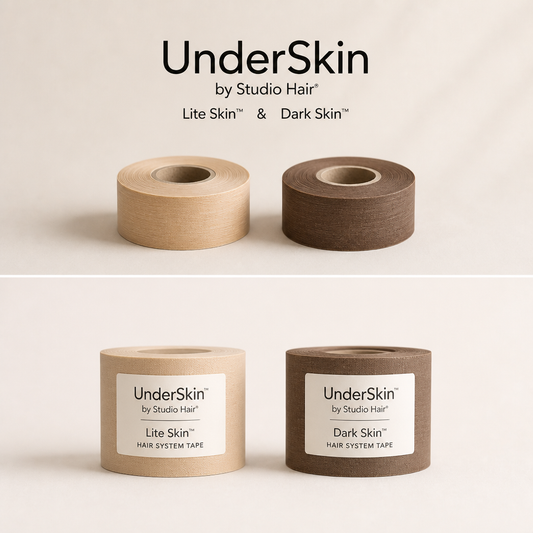
UnderSkin™ RX by Studio Hair®
Regular price $18.00 USDRegular priceUnit price per -
Professional Suction Wig Head Holder
Regular price $25.00 USDRegular priceUnit price per -
Hair 2 Stay™ by Studio Hair®
Regular price $14.50 USDRegular priceUnit price per$24.00 USDSale price $14.50 USDSale